Clean and prep your doors
Wipe down the mounting area on every door that gets a ProPlacard. A clean, dry surface gives you honest marks and a tight mount.
Mark and remember your measurements
Pick a reference point you can find on every door, like the top edge or the latch. Measure to your mounting spot and mark a cross with a dry erase marker. Use the same measurements on every applicable door, and write them down. Keep them handy. They are your reference points for the whole fleet.
Mount the Intelligent Base
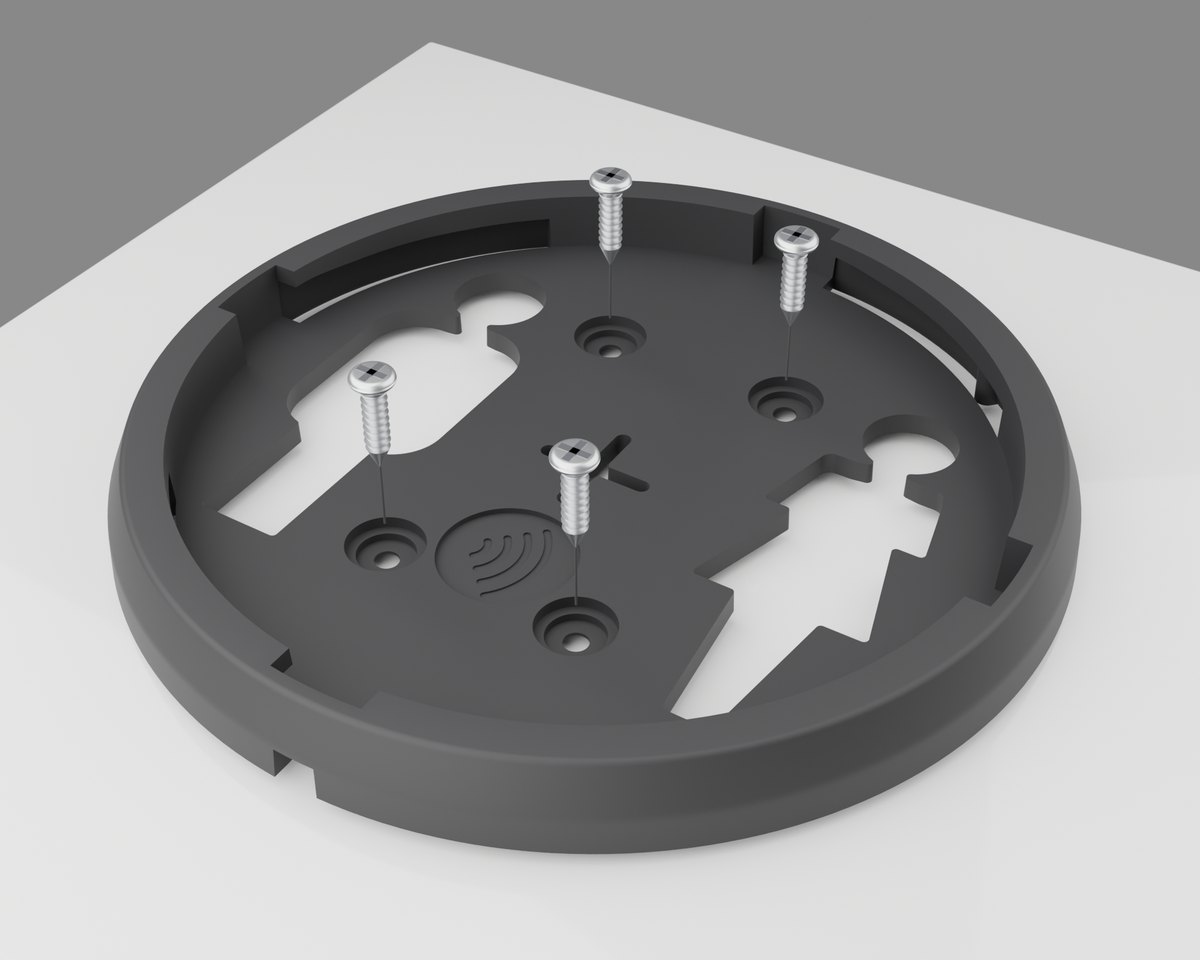
Line the alignment cross in the center of the base up with your mark. Fasten through the four center mounting holes with your choice of pan-head screws or rivets. Snug them down. Do not crush the plastic.
Twist. Swap. Lock. Done.
Set your placard on the base and twist to lock. Swapping placards takes seconds, and the base never comes off the door.
What You Need
- Dry erase marker
- Tape measure
- Drill driver or rivet gun
- 4 fasteners per base
Fastener Choice
Screws or rivets — your call. Both mount through the same four holes. Pan-head Phillips screws bite straight into the door skin and come out easy. 3/16" aluminum rivets give a permanent, tamper-resistant hold. Use your shop's standard.
Pro Tip
Doing a whole fleet? Measure once, write it down, and repeat the same cross on every door. Your placards will line up truck after truck.